Learning how to seal granite countertops the right way protects the stone you paid to fabricate—without turning care into a weekend project. This guide covers when sealing helps, how to test if a top needs it, a practical reseal process, and mistakes that leave cloudy film or weak spots around sinks.
Table of contents
- Why granite is sealed
- Do you need to seal—and how often?
- The water test before you buy sealer
- How to seal granite countertops step by step
- Common sealing mistakes
- Aftercare, cleaners, and heat
- When to call a fabricator instead
- FAQ
Why granite is sealed
Granite is a natural stone. Many finishes absorb liquids if left untreated. A penetrating sealer fills pore space so water, oil, and common kitchen spills sit on the surface longer—giving you time to wipe them up before they darken the stone or leave a stain outline.
Sealer is not a plastic coating that makes granite indestructible. It reduces absorption; it does not stop etching the way some people expect from marble talk, and it does not replace daily cleaning. Think of it as stain insurance, not armor.
If you are still choosing stone, compare absorbency and care notes on our granite and quartz pages—quartz is engineered differently and usually follows a different care path than natural granite.
Do you need to seal—and how often?
Not every granite slab drinks water at the same rate. Denser stones and some honed or leathered finishes behave differently than a polished open-pore piece. Your fabricator may seal the top at install; that does not mean you never reseal.
Homeowners often reseal every 1–3 years, but the calendar is a guess. Use the water test below instead of resealing on a fixed date. Over-sealing can leave haze; under-sealing shows up as dark rings under coffee mugs or oil spots near the stove.
High-use zones—around the sink, coffee station, and cooking landing zone—usually tell the truth first. If those areas darken quickly when wet and stay dark after a few minutes, schedule a reseal.
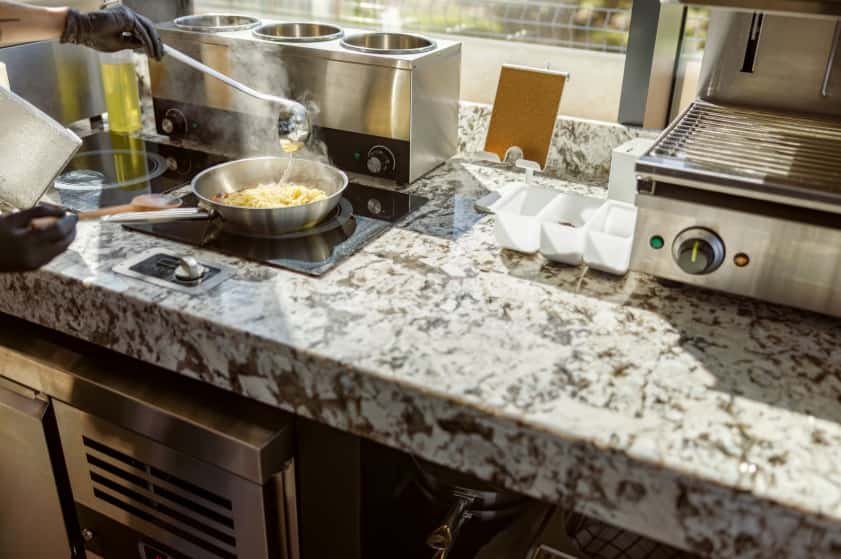
The water test before you buy sealer
- Clean the counter with a stone-safe cleaner and let it dry completely.
- Drip a few drops of water in an inconspicuous spot and on a high-use area.
- Watch for 5–10 minutes. If water beads and the stone does not darken, sealer is likely still working.
- If the spot darkens quickly and stays dark, the stone is absorbing—plan a reseal.
Test more than one place. An island that still beads can sit next to a sink deck that absorbs. Spot-treat only if your sealer instructions allow it; many kitchens are easier to do as a full top in one session.
How to seal granite countertops step by step
1. Choose a penetrating impregnating sealer labeled for natural stone / granite. Avoid leftover floor wax, generic “shine” coatings, or kitchen oils marketed as sealers.
2. Clear the counters and scrub gently with a pH-balanced stone cleaner. Rinse residue. Let the surface dry fully—moisture trapped under sealer causes uneven results.
3. Ventilate the room. Follow the product’s PPE notes.
4. Apply a thin, even coat with a clean microfiber cloth or applicator. Work in manageable sections so the sealer does not dry into thick puddles.
5. Allow the dwell time on the label (often a few minutes). The stone should look wet but not swimming.
6. Wipe off all excess before it dries on the surface. Excess sealer that hardens on top creates sticky or cloudy film that is harder to fix than a light second coat later.
7. Buff dry with a clean cloth. Some products recommend a second coat after a set wait—only if the label says so and the first coat absorbed fully.
8. Keep the top dry for the cure window on the bottle before heavy cooking or leaving sitting liquids.
Edges and sink cutouts deserve the same attention as the open field. If you recently chose a detailed profile, wipe sealer into the edge face carefully, then remove excess so it does not build up in grooves—our edge profiles overview shows why ornate shapes need a little extra wipe-down care.
Common sealing mistakes
Leaving excess sealer on the surface. Most cloudy “failed seals” are dried residue, not bad stone. If you see haze after curing, try a stone-safe cleaner and a dry microfiber buff. Stubborn film may need a product-specific remover—call before sanding or polishing at home.
Sealing a dirty or damp top. Soap film and trapped moisture block penetration. If the stone was mopped with a greasy cleaner for months, deep-clean first and let it dry overnight in humid weather.
Using the wrong chemistry. Tile sealers, concrete densifiers, and furniture polish are not interchangeable with granite impregnators. Read the label for natural stone countertops.
Skipping the water test after you finish. A week later, drip water again. If absorption is still obvious, a second thin coat (per the label) may be needed—or the stone may need a different product recommended by your fabricator.
Aftercare, cleaners, and heat
Daily: wipe spills promptly, especially oil, wine, coffee, and tomato sauces. Use stone-safe cleaners; skip bleach, vinegar “hacks,” and abrasive powders that dull polish.
Heat: granite handles warm pans better than many materials, but thermal shock and hot oil still deserve trivets. Sealer does not make the stone immune to sudden temperature swings.
Cutting boards still matter. Sealer is not a substitute for not chopping directly on the polish you paid to fabricate.
Color enhancement sealers exist for some stones; they can deepen tone as well as reduce absorption. Only use them if you want that look permanently darker—and test in a corner first. Most kitchen granite jobs use a clear impregnator that does not dramatically change color when wiped correctly.
If you use remnants for a vanity or bar, care rules match the parent stone—size does not change chemistry. See when leftovers make sense in our remnants buying guide (and the remnants inventory page).
When to call a fabricator instead
- Deep stains that do not lift with a stone poultice after careful DIY attempts
- Chips, cracks, or separated seams near sinks
- Cloudy film after a DIY sealer that will not buff off
- Uncertainty about whether you have granite, marble, or quartz on an older home
AA Granite Fabrication Center fabricates and installs tops for homeowners and trade clients across the metro. If you need a new top—not only a reseal—start with residential services or request a quote. For showroom questions, call (214) 441-7776 or contact us.
FAQ
Can I seal granite with olive oil or coconut oil? No. Food oils go rancid, attract dirt, and are not impregnating sealers.
Does sealed granite mean it will never stain? No. Sealer slows absorption. Wipe spills; do not treat the top like a cutting board for wine bottles.
Honed granite vs polished—same sealer? Use a stone sealer approved for your finish. Honed surfaces can show wear differently; follow the product and your fabricator’s notes.
Should I seal the underside? Fabricators handle underside treatment as needed for the install. Homeowners usually reseal the top face and exposed edges only.
Is professional sealing required? Many homeowners reseal successfully with the right product and full wipe-off of excess. Call a pro if the stone is already stained, damaged, or coated with the wrong product.
Sealing granite well is mostly preparation and wiping off excess—not soaking the stone in product. Test with water, follow the label, and keep a simple cleaner nearby so the finish you chose in the shop stays looking sharp.